My first step was to collect all the photos that I wanted to use. I asked my mom and MIL for old family photos and picked out some current ones that I had of the three of us too. I scanned almost all of them into the computer so I could get different sizes plus the matriarchs wanted some of the originals back. I got two 8x10s and the rest were either 5x7 or 4x6.
I knew I didn't want to spend a ton of money on this little project so I decided to see if I could pick up picture frames at the dollar store and spray paint them. I really liked the idea of mismatched frames and the dollar store had a large enough selection that I think I only ended up with two matching pairs.
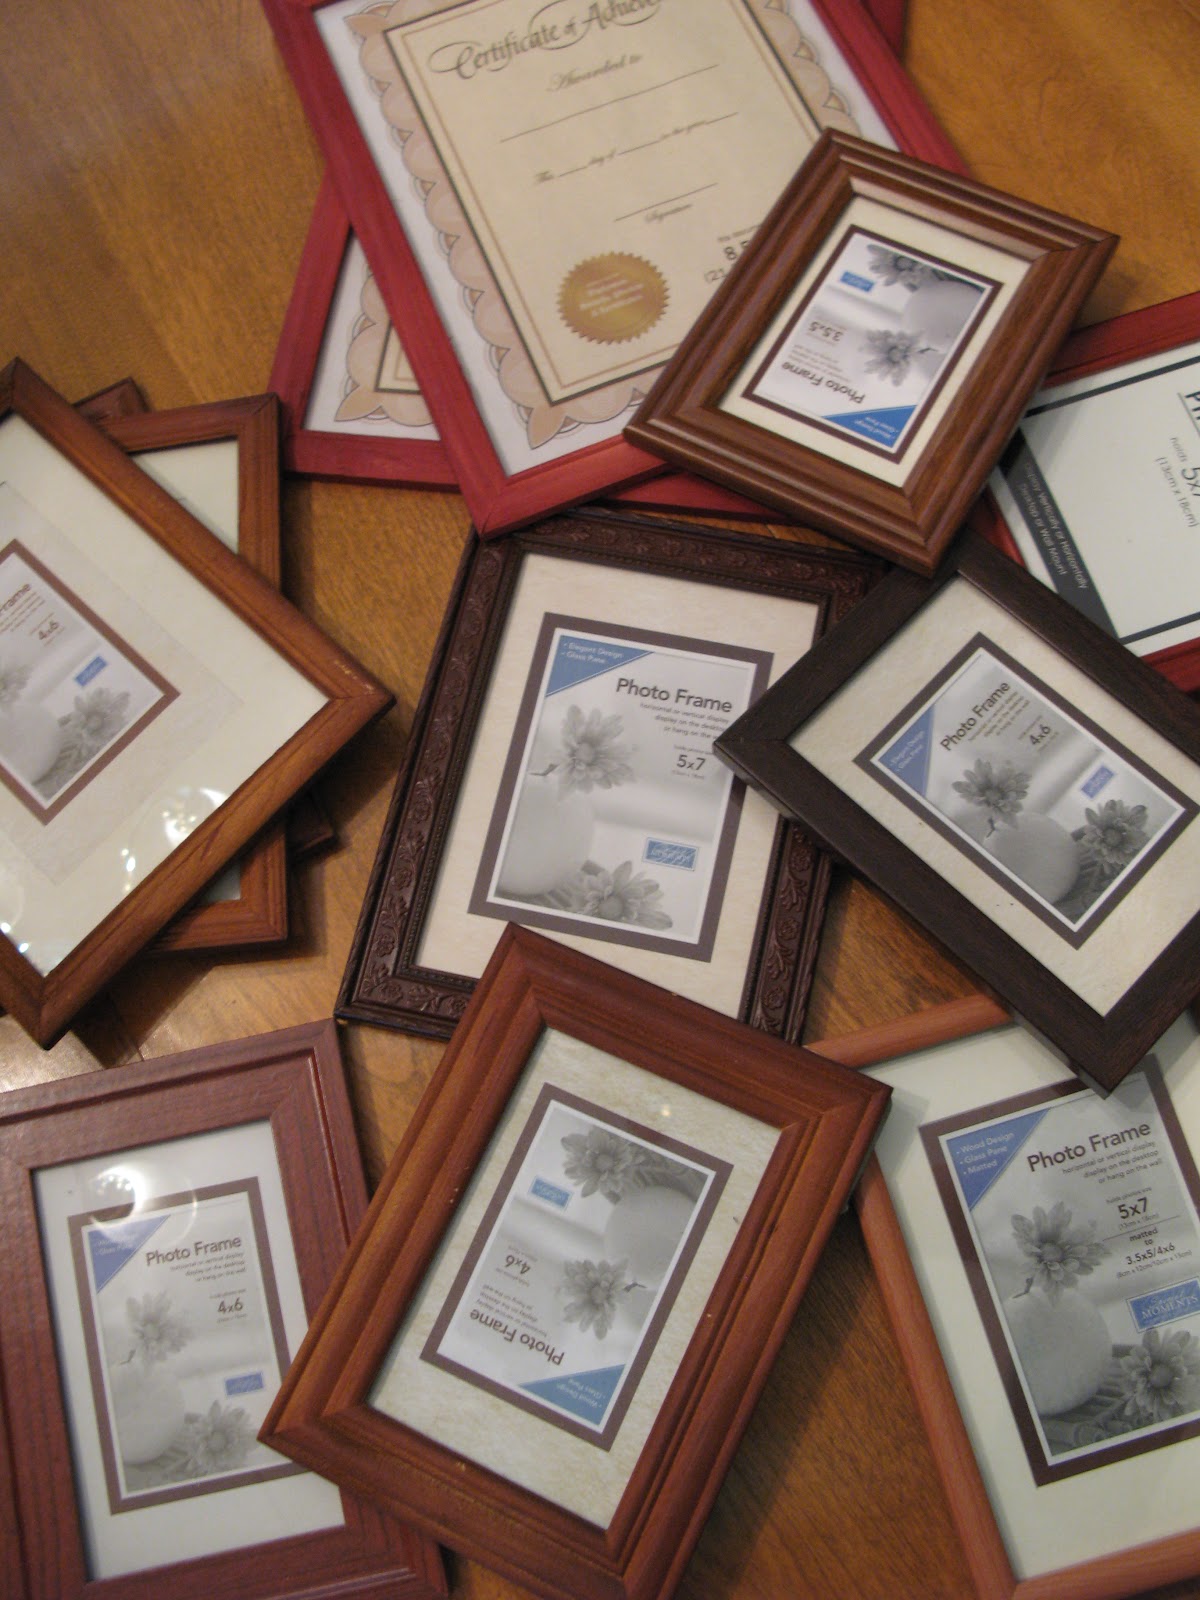 |
| Dollar store frames! |
I had seen several galleries on pinterest that had either some kind of meaningful quote or the word "family" incorporated into the design and I really liked that. I played around with several different quotes, printing them out in different fonts and layouts and decided that I didn't want to go that route. I ended up going to a craft store and buying wooden letters that spelled family and picked out three scrapbooking paper that I liked. I cut lots of 1", 2" and 2 1/2" squares (3 inches was too big for my letters) and decoupaged them onto the letters. Since the scrapbooking papers were all in black and white I spray painted half the frames black and the other half white. (Some of the frames ended up looking terrible once they were painted so I ran to Ikea and bought a couple of their $1.99 frames to replace those. It meant that I now have more matching frames than I did before but oh well.)
 |
| "I'm ready for my close up, Mr. Demille." |
I have a small wall in my kitchen that faces my pantry and for the last three years I have had to look at one of the few remaining remnants of my husband's bachelor days, a giant framed poster of an African Lion. ("Why a lion poster?", you ask. "I have no friggin' clue!", I answer.) I knew that this wall was the perfect spot for my gallery!!
I had my awesome sister Julie, from My Southern Soapbox, come over to help me hang it all. After quite a lot of back and forth about the best way to hang all this we ended up just eyeballing where to put the letters.
 |
| We did use a level to keep it, well level. We're not completely reckless, people!! |
I'm sure that many would have found it hilarious if they could have seen video of us trying to figure out the picture placement but after spending about 15 minutes holding pictures on the wall with everything but our noses I remembered a pin I had seen about using wax paper to hang pictures. We didn't do it exactly like she did and I'm about to tell ya why. I didn't want to put a bunch of holes in my wall so I decided to use some 3M Damage-Free velcro picture hangers.
 |
| Yup! That's them! |
 |
| Ya for no holes in my wall!! |
 |
| As you can see by the Xs we changed our minds a time or two. |
 |
| Aaww, wasn't I a cute lil chubbers? ;) |
 |
| That sweet blonde boy is my hubby! |
The great thing about using these velcro hangers is that I've been able to switch around a few of the photos. after changing my mind yet again, and it was no big deal. Gotta love that!!
Ok, so here's the final product and I've gotta say, I'm pretty happy with it! I love being able to walk by and see all these happy memories!! :)
 |
| Not a great picture but I had to stand in my pantry to take it so cut a girl some slack! ;) |
Hope this inspires some of you out there to get crafty! Don't be skeered! If I can do it and it looks half decent then I know you'll knock it out of the park!
GO US!!! I can't believe it looks as good as it does! I was sure we (and by we I mostly mean you :D) would screw something up! GOOD JOB SASTER! Yay for teamwork!
ReplyDelete